Thursday, April 26, 2018

Art Show: Iterations of Verse by Anastasia Quinn Keck


One of the exciting things about having friends who are so amazingly artistic is that I get to go and see some amazing openings and art shows. This art show is for my printmaking friend Anastasia Quinn Keck, who you may remember from some of my earlier posts. They have been so wonderful to allow me to come into their studio and explore printmaking in order to help me get back into my art. So, it was only fitting that I went down to see their art show opening in Easthampton, Massachusetts, during the annual book fest. The show was up for all of April and as you can see it was amazing!


First of all the space was incredible, set up in old town hall, Anastasia Quinn had the whole Easthampton City Arts Gallery to them self. 


Then there were these amazing artist books, that Anastasia Quinn included in honor of Book Fest. 


Not to mention this fantastic collection of prints created using the texts of various poems.


Which tied in perfectly to the poetry reading 
that happened during the opening. 
Here's Anastasia Quinn reading their own original poem!


However, one of the most incredible parts of the show was this large display of prints. These prints are beyond masterful in their layering and the way that Anastasia Quinn is breaking out of the Printmaking rectangle, to create prints of all shapes and sizes. Not, to mention the way that the prints were laid out on the wall. It brings the eyes on an adventure and if you look closely, it's almost like you can find the story within. 


Here are just some of the close up photos I took of this amazing wall of prints!


Hope you enjoyed my review of the show! If you're interested to find out anything more about artist 
Anastasia Quinn Keck please check out their 
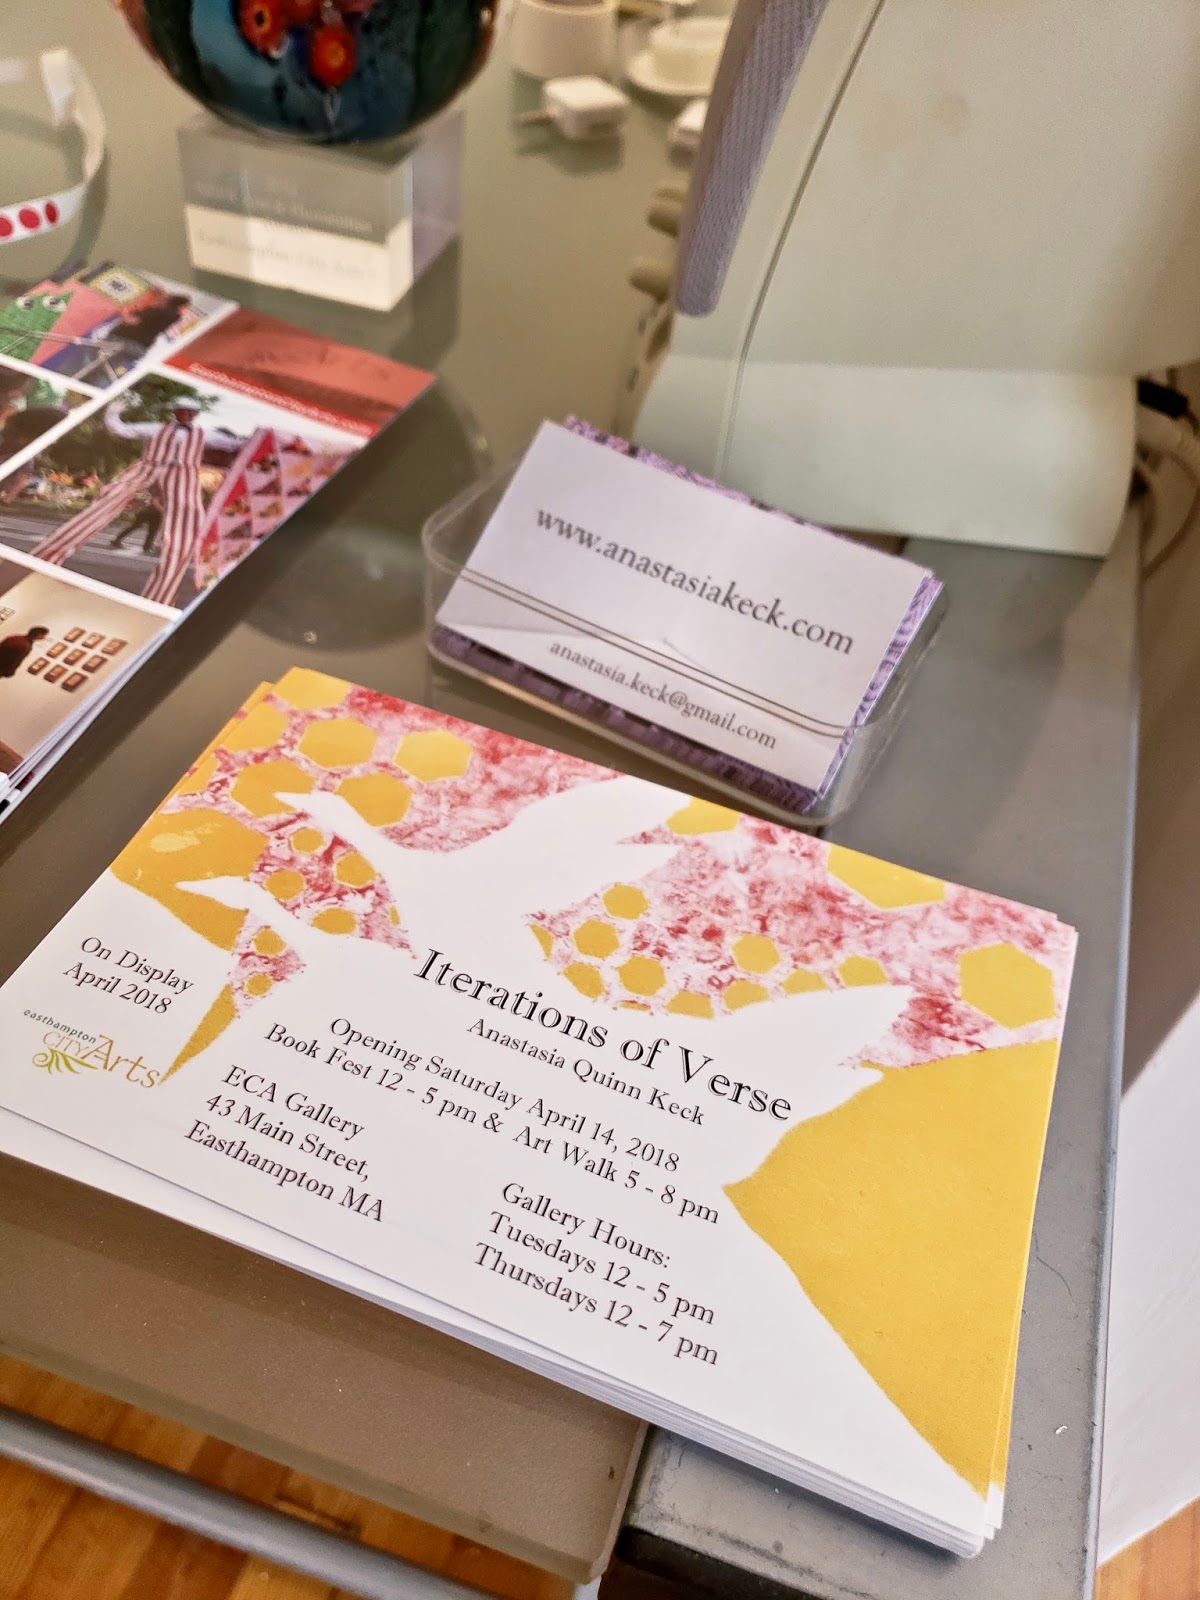
website: www.anastasiakeck.com    
email: anastasia.keck@gmail.com

Thanks for reading and don't forget to subscribe to find to get updates on my latest artistic adventures!


Sunday, April 8, 2018

Crafting Break: Dyed Fake Flower DYI


So the winter weather just doesn't seem to want to leave the Granite State... I mean it snowed this past Friday... snowed.... I know it didn't stick to the ground, but I need some spring. A few months ago, in taking a break from my paintings, I went out a got some dollar store flowers and filled them in a vase to attempt and evoke that feeling of spring.


Here is sadly a blurry picture of the flowers I took with my older phone... I know picture quality sucks, but you get the picture... haha see what I did there I made a really bad art teacher pun! Anyway this weekend, I just decided that it even though these pinks, peaches and yellows were nice, they just weren't what I was looking for.

So, of course being the artsy person I am, I decided to change them. First, I located the
Tulip® ColorShot Instant Fabric Color™sprayers that I had lying around. They had been a purchase I had made last summer when I was looking for dying options for my wooden wedding flowers... a story for the another day... regardless, I had two beautiful colors lying around: teal and a deep purple. 

Also, before I go any further you can buy these awesome sprayers from Michaels! Click for the link!

Here are the steps I followed to use the sprayers to dye my fake dollar store flowers and change their colors:

1. Locate a container that is safe to spray into. (I used an old cardboard box and as you can see from the pictures I have even used it for spray painting)

2. Take the flowers off the stems. (I learned this the hard way).

3. Place 3-4 flowers in your spray safe container.

4. Spray the front of the flowers in a well ventilated area. (These sprayers have a very strong smell).

5. Let dry for at least 30 minutes.

6. Turn flowers over and spray back. (Depending on your skill level with spraying you may end up covering some of the plastic stems, this didn't bother me, but I wanted to warn you before just incase. And if this does bother you, you can also add some painters tape to cover the plastic stems.)

7. Let dry for at least 30 minutes if not 1 hour. (You know they are done if there is no dye residue rubbing off on to your fingers.)

8. Repeat until all flowers are dyed. (Since, these can take a while to dry, you may want to set up a separate safe area to let them dry outside of your container, so that you can do multiples at a time, or spread out your spraying over the course of the day or week). 

9. Put flowers back on stems. (In order to mix in my colors of purple, teal and white, I ended up grouping flowers not by color, but placing a variety of colors back on one stem set.)

10. Admire :)

Here are more picture of my work in progress:


Here is my finished masterpiece! And even though it is not a painting this project was a nice break to carry me over into the rest of week, while I hope for spring in the Granite State!

 
If you wish to receive further updates about my crafting breaks, my paintings or other adventures as I continue to hatch my artist masterpieces... don't forget to subscribe! I'm starting to get really good at posting in a timely manner!! :)


Wednesday, April 4, 2018

And so it begins!

And so it begins!


Finally, after months of working (with the small children and on my art) I finally have a moment to sit down and share with you. After taking a very long time to take the leap of faith that I could do art again, I realized that what was really getting me stuck was my subject matter... in the past as an undergraduate and as an art teacher it has been very easy to think about subject matter in relation to art and art projects. However, when I finally sat down to do my own art work.... nothing was coming to me. 

So, I did what any sensible millineial would do... I began looking through my photos and I realized that I had a ton of old photos of different landscapes and places I had been. And there is was... my inspiration!! Landscapes!! I pulled out the photos and began working on them. 


Don't mind the clutter of art materials surrounding my desk, but here is my amazing blank canvas ready to go!


And here is my work in progress notice, my fancy computer (well maybe not that fancy) in the background with my inspiration photo.


Here is the original inspirational photo that I used for my painting. If you can believe I actually took this over 10 years ago!


Here is the finished masterpiece available for sale at my Etsy shop!


Tuesday, April 3, 2018

Getting a creative space ready for action!

Wow, time has gotten away from me, but I'm back working hard at putting together my art. Part of my fresh start into creating more art for my own sanity is, getting my creative space ready. Now, this may seem ridiculous, due in part to the fact that it is taking time away from the actual creation of masterpieces... this is true...but I know myself. From years being an art teacher the space in which you make stuff, helps your mind find space to imagine things.


Now I have seen a whole variety of artists studios on Pinterest and in real life. From what I have seen I feel there are two ends of the spectrum when it comes to artist studios:


From the studio of artist Burnell Yow!: Getting my brushes off the bench. Copper tubing and handled paint cups from Home Depot created extra portable storage options for brushes, markers and small tools. http://ravenswingstudio.com/2012/03/studio-tip-1-get-your-brushes-off-the-bench/           
Raven's Wing Studio               Keli McKinely Hansen's Studio

1) This is what I like to call the "alphabetized studio". This is for the artist and person alike who has a place for everything and everything is actually in its place instead of on the floor or the coffee table or under the desk (which happens to me all the time)...etc.. which brings me to the other end of the spectrum:

           
Jenny Vorwaller's Studio                      ATELIER RUE VERTE Studio


2) These are examples of studios that are"organized chaos". These are the art studios that have piles of books in one corner and then something else hanging over there and then maybe some paper spread out on the floor. And while this may seem to be unfunctional to the untrained eye, to this particular artist it is a complex system. There is process happening and this artist knows what all the piles mean and where and why the paint brush is on the coffee table (that is not me.... I always forget why I put the paint brush on the coffee table)

Which brings me to the whole reason I had to get my space ready: TO MAKE ART YOU MUST KNOW WHERE YOUR MATERIALS ARE!

And as you can see both of the ends of the spectrum are inviting spaces where creative magic things are happening, which is why space can be so important in art making. 

Having been given a desk by my mother in law, I figured it was time to put it to use and finally unpack my materials and set up shop in a corner of my apartment. There, I organized my materials in an alphabetized chaos, because well I'm somewhere in between those two ends of the art studio spectrum and then there are times when I'm just plain messy... Here's a pick of my work in progress:


Art Show: Iterations of Verse by Anastasia Quinn Keck

One of the exciting things about having friends who are so amazingly artistic is that I get to go and see some amazing openings and ...